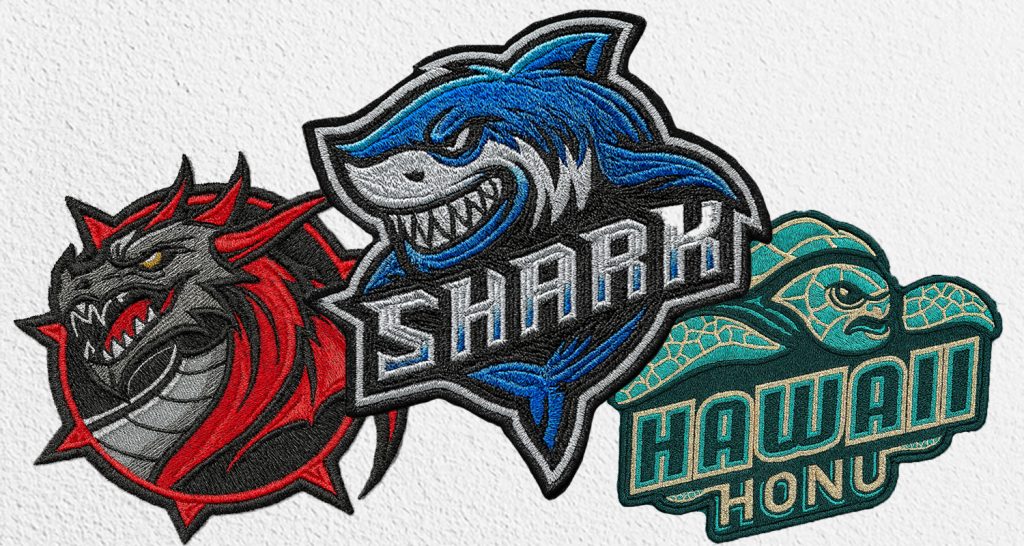
Designing custom patches is a practical and creative way to showcase identity, promote a brand, or commemorate an event. Custom patches are widely used across industries, from corporate uniforms to sports clubs and fashion accessories.
Whether you’re creating patches for business branding, team spirit, or personal expression, a well-designed patch leaves a lasting impression. The design process involves choosing the right type, size, border, backing, and colors to match your unique purpose.
With the right approach and expert support, anyone can create patches that are visually appealing, durable, and purpose-driven. This guide explains how to design custom patches step by step.
How to Design Custom Patches – Step-by-Step Guide
To design custom patches effectively, you need a structured approach. Each step plays a critical role in the final output. Follow this practical guide to make informed and accurate design choices.
1. Start with an Idea
A successful patch design starts with a clear idea. Define your goal—brand promotion, identity, fashion, or event. Decide on key elements like text, symbols, or logos. Consider the target audience and how the patch will be used. Strong concepts lead to better design outcomes, so begin with a focused vision.
2. Choose the Type of Custom Patch
Selecting the correct patch type ensures quality and functionality.
Embroidered patches are ideal for bold, traditional designs with a textured look.
Woven patches suit detailed artwork and small text due to their smooth surface.
Printed patches are best for photorealistic images and unlimited color use.
PVC patches offer 3D visuals, durability, and weather resistance, suitable for outdoor and tactical use.
Match the patch type with your design needs—boldness, detail, durability, or color richness. Each option provides unique benefits. Choosing the right type helps achieve the intended appearance, clarity, and durability required for your application.
3. Determine the Patch Size and Shape
Patch size affects detail visibility and placement. Measure height and width, then calculate average size using (Height + Width) ÷ 2. Choose standard shapes like circles, squares, or rectangles, or opt for custom shapes for unique branding. Proper sizing ensures visual clarity and accurate production pricing for custom patches.
4. Select the Patch Border Style
Patch borders improve durability and design finish. Merrowed borders are thick, stitched edges ideal for standard shapes. Hot-cut borders use heat-sealed edges for complex or custom-shaped patches. Choose based on shape and appearance. The right border supports structural integrity and ensures a professional, finished look for custom patches.
5. Pick the Right Backing Option
Backing determines how patches are applied. Iron-on is easy to use for clothing. Velcro hook & loop is best for removability. Sew-on offers permanent placement. No-backing is for flexible use. Choose based on garment type and application need. The correct backing supports patch functionality, appearance, and wearability across different uses.
6. Decide on Thread Colors and Stitch Type
Thread choice defines style and visibility. Use contrasting colors for clarity and complementary tones for aesthetics. Choose satin-stitch for clean outlines or complex-fill for large areas. Specialty threads like metallic or glow-in-the-dark add visual effects. Proper thread selection ensures your custom patch stands out and remains visually sharp.
Upload or Share Your Design
Submit your idea via email or direct upload. Include sketches, logos, color preferences, and shape. Detailed input helps designers visualize your intent. Providing accurate files or clear instructions reduces revisions and improves results. Uploading the right design assets ensures a smooth process when creating your custom patch.
Digital Mockups and Approval
After submission, designers create a digital proof for review. This mockup shows shape, size, colors, and layout. You can approve or request edits. Unlimited revisions are usually allowed. Approving the final design ensures the patch matches expectations. Clear feedback during this stage is essential for a high-quality finished product.
Patch Production and Delivery
Once approved and paid, the production process begins. Each patch is crafted with precision. Turnaround time typically ranges from 14 to 17 days. After production, patches are shipped securely. Choosing a reliable provider ensures your patches are made accurately, delivered on time, and meet quality standards consistently.
Tips for Designing the Perfect Custom Patch
Keep your design simple and impactful. Use bold shapes and clear text to enhance readability. Avoid clutter; limit elements to what matters. Choose a patch type that matches design complexity. Ensure thread colors contrast with the background for better visibility.
Use high-resolution artwork to maintain design accuracy. Match patch size to usage—smaller for hats, larger for jackets. Select backing and borders based on application and wear. Submit detailed descriptions when sharing your concept. Review proofs carefully.
A strong design balances creativity and clarity. Following these practices ensures your custom patch looks professional and performs well in real-world use.
Most Popular Uses for Custom Patches
Custom patches serve many purposes across industries and lifestyles.
Businesses use them for uniforms and brand identity.
Military and police organizations rely on patches for ranks and units.
Clubs and organizations create patches for recognition and events.
Fashion brands use patches as decorative elements on apparel.
Sports teams design patches for achievements and team identity.
Event organizers produce commemorative patches.
Collectors seek unique designs for display.
Schools and scouts distribute patches for accomplishments.
Each use case influences design decisions, from material to color. Knowing the end-use ensures your patch delivers both aesthetic and functional value.
Final Words
Ready to design your custom patches? Upload your artwork or sketch now and receive a free digital proof. Our expert team will guide you through each step. Start creating patches that reflect your message and style. Design custom patches today and make your vision a reality—quickly and professionally.

